Threat Intelligence Map and Threat Panel
📍 To access Threat Intelligence, go to: Incidents > Threat Intelligence
Overview
The Threat Intelligence Map provides a visual representation of threats and recipient locations, helping organizations monitor and respond to potential risks efficiently.
The Threat Intelligence Threat Panel provides real-time visibility into threats detected by Monitoring Rules. It enables users to review, manage, and take action on active threats directly from the panel.
Map Features
Recipient & Desktop Pins
Before configuring Monitoring Rules, the map displays location pins for:
- Groups with location coordinates enabled
- Static address information
- Device locations (mobile app or desktop app)
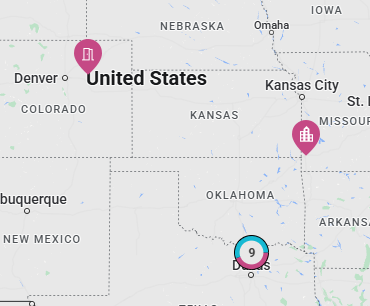
Threat Pins
Once Monitoring Rules are set up, threat pins appear when threats fall within a defined monitoring zone.
- Icon & color of threat pins reflect the Category and Urgency of the threat.
- Clicking a threat icon on the map:
- Displays the threat boundaries on the map.
- Highlights the corresponding Threat Card in the Threat Panel.
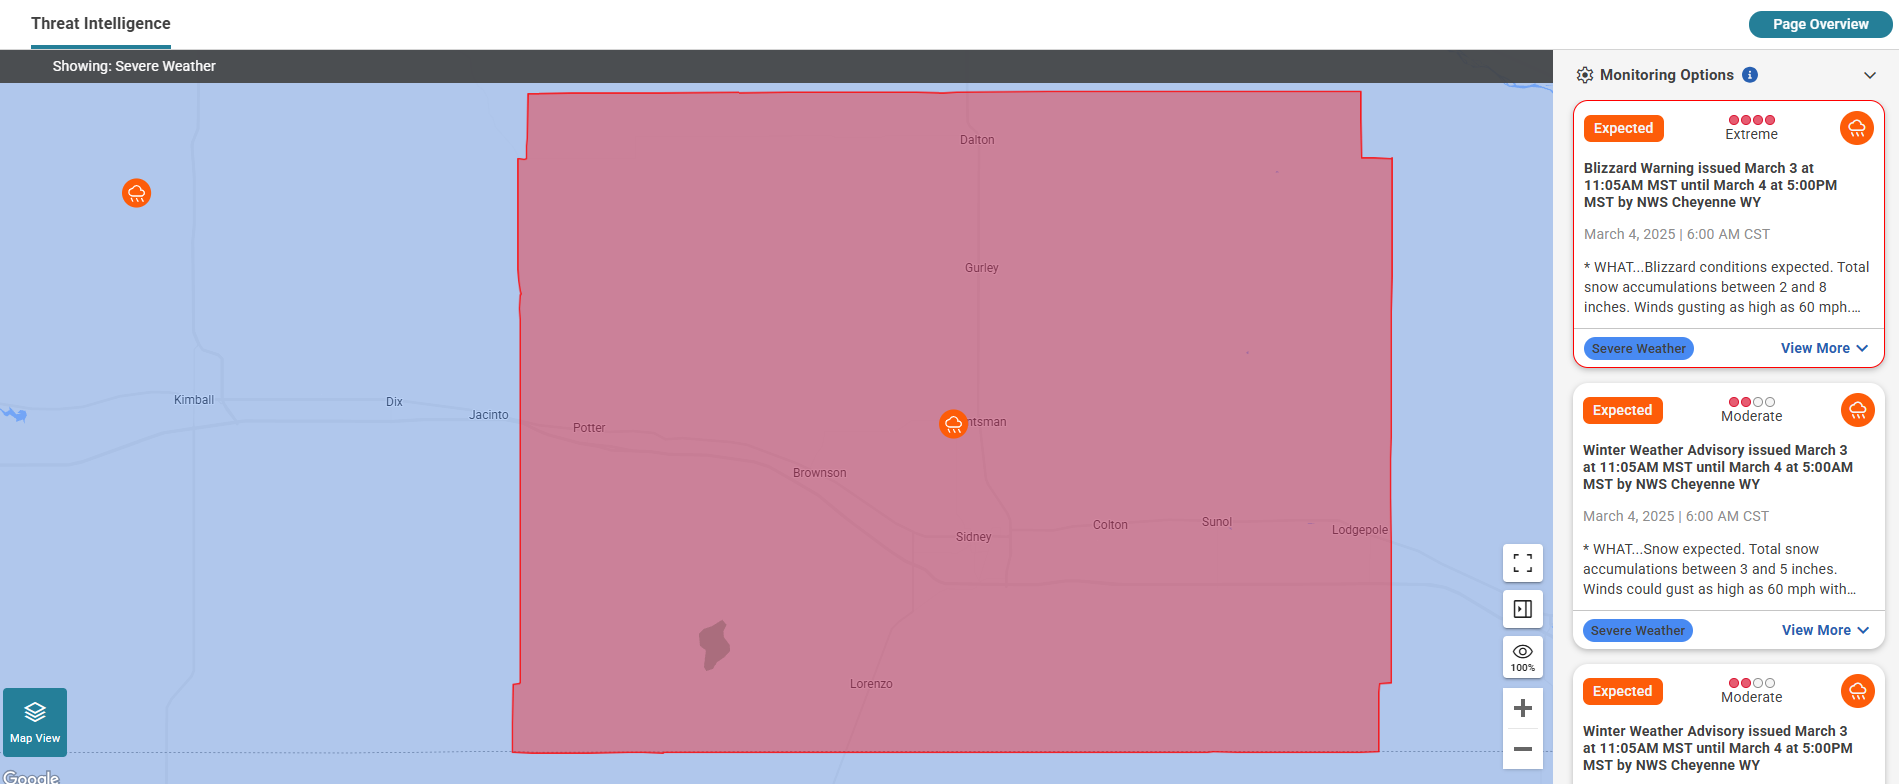
Map View & Controls
Click the Map View icon in the bottom left corner of the screen to open the map view control panel.

Pin Legend
- All recipient, group, and device location pins appear by default.
- To hide default pins, click the Pin Icon in the legend.
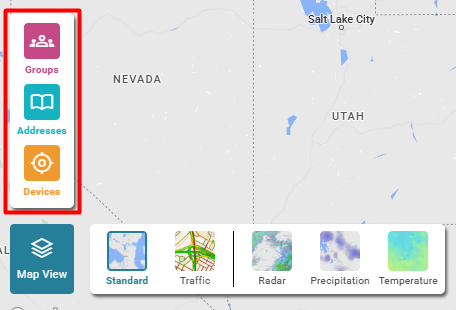
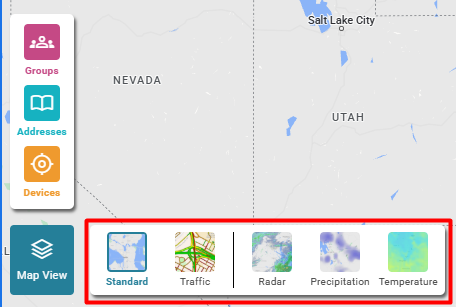
Map Layers
- Choose between:
- Minimal map view (default)
- Standard map view with roads
- Enable one weather layer at a time:
- Radar
- Precipitation
- Temperature
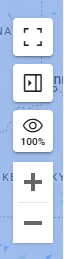
Map Controls
- Full Screen: Expands the map view by hiding RedFlag navigation.
- Collapse/Expand Threat Panel: Adjusts panel visibility for a larger map view.
- 100% View: Resets the zoom to display the full US map.
- Zoom In/Out: Adjusts the zoom level with + and - icons.
Threat Panel
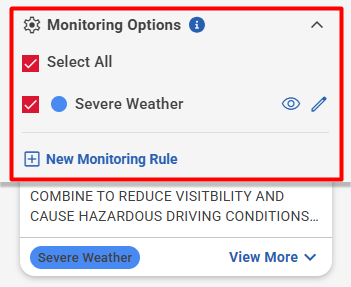
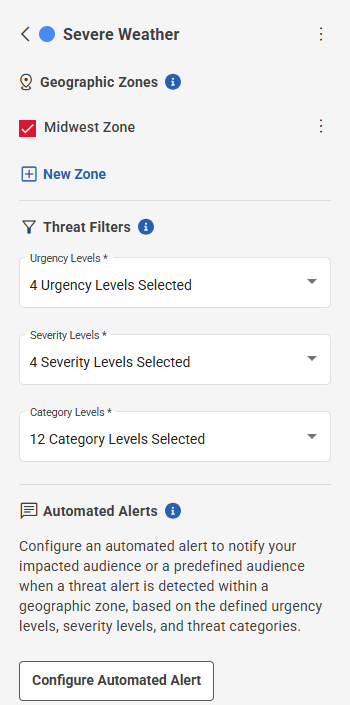
Monitoring Options
- View currently active Monitoring Rules on the map.
- Enable or disable rules to filter the displayed threats.
- Add New Monitoring Rule.
- Click the view (eye) icon next to a rule to zoom into the boundaries of its rule zones.
- Click the edit (pencil) icon next to a rule to:
- Rename the rule
- Change its color
- Adjust geographic zones
- Modify Severity, Urgency, and Category
- Update Automated Alerts (when available)
- Delete the rule
- Be sure to save changes at the bottom of the panel after editing.
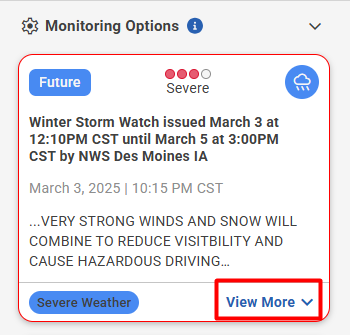
Threat Cards
Each Threat Card provides key details about an active threat:
Urgency, Severity, & Category:
- Pulled from the incoming threat feed.
- Color-coded urgency levels match both the threat card and threat pin on the map.
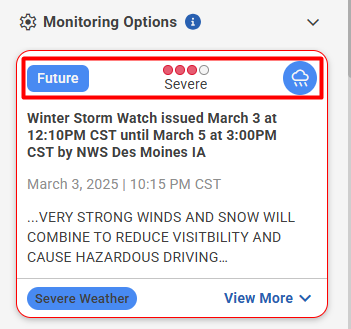
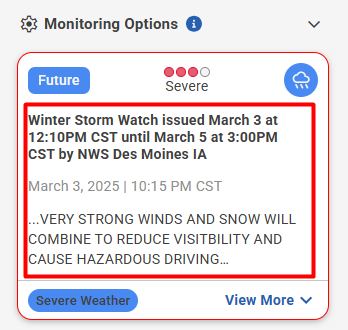
Threat Title & Description:
- Displays threat details received from the feed.
- If sending an alert from the card, the Title and Body are pre-filled in the Create Message screen.
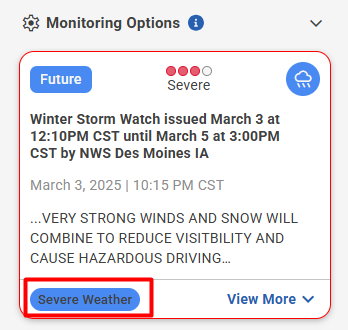
Monitoring Rule Identification:
- The rule name and assigned color appear in the bottom-left corner of the card, making it easy to track multiple rules.
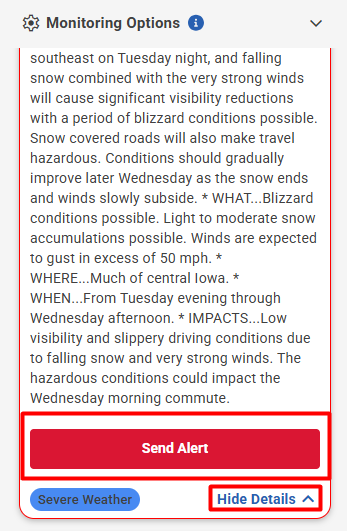
Actions on a Threat Card:
- View More: Expands the card to see full details and send an alert.
- Send Alert: Opens the Create Message page with pre-filled threat details.
- Hide Details: Collapses the card back to its original state.