Threat Intelligence Manually Send Alert
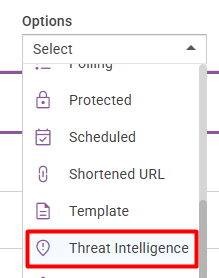
📍 To access Threat Intelligence, go to: Incidents > Threat Intelligence
Manually Sending an Alert Message
When a threat is detected based on your configured Monitoring Rules, it will appear in the Threat Intelligence side panel. To manually send an alert for a specific threat, follow these steps:
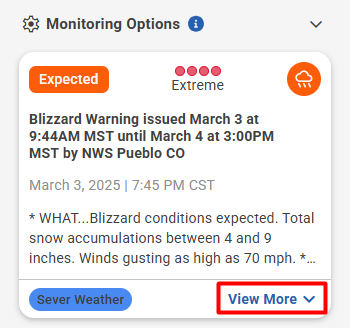
- Locate the threat in the side panel.
- Click View More to expand the threat card.
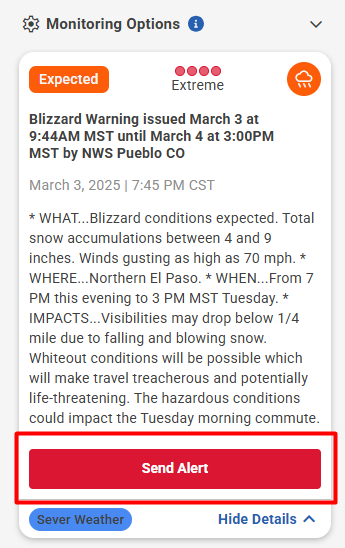
- Click Send Alert to navigate to the Create Message page.
- The Threat Title will automatically be pre-populated as the Message Name. The Message Name can be edited if needed before sending.
- The threat’s geofence boundary will automatically be selected as the geofence for the message. A Message Time Duration can be set for the geofence, allowing anyone who enters the threat boundary during the specified time period (configurable between 1 minute and 7 days) to automatically be sent the message.
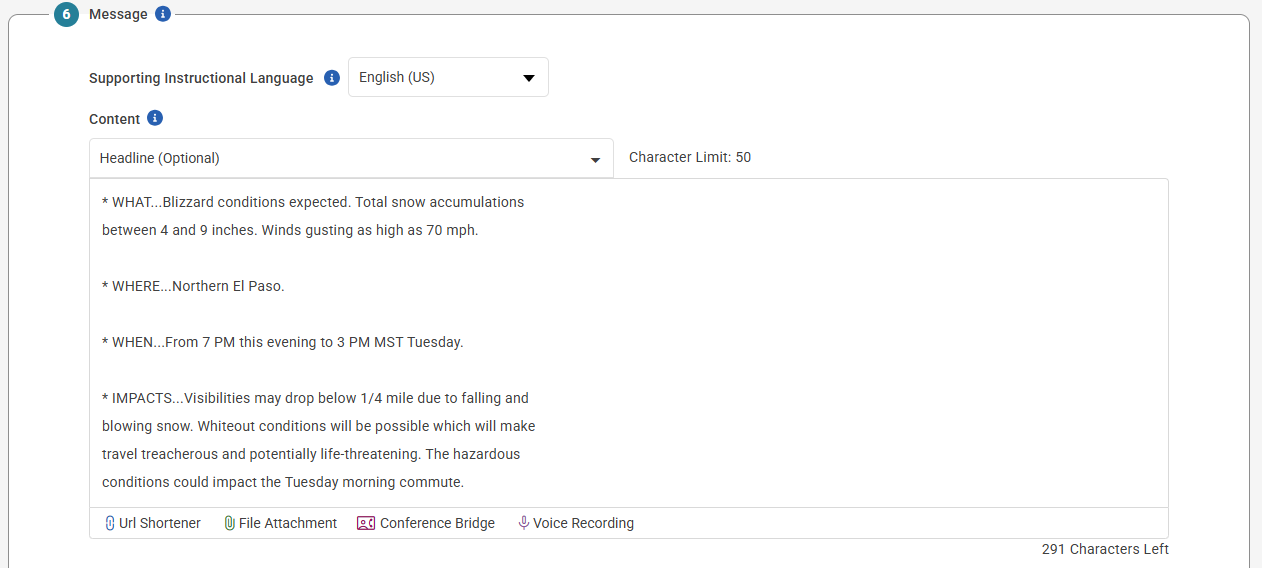
Additional profiles outside of the geofence can also be selected if they need to be sent the message. Alternatively, the geofence can be removed from the selection if you only want to send the message to a predefined audience, without notifying recipients/desktops based on their location within the threat boundary. - The Message Body from the threat will automatically be pre-populated into the Message Content field. The content can be edited as needed before sending.
- Click Send Now to issue the alert.


Automated Alerts (Coming Soon)
This feature is currently under development. More information will be provided when it is released.
Message List
Once a message has been sent from Threat Intelligence, it will appear on the Message List page. The Options column will indicate that the message was sent via Threat Intelligence. If the message was sent to the Impacted Audience, this will be displayed in the Sent To column.
You can also use Advanced Search to filter for messages sent from Threat Intelligence.