Recipient App Access
📍 To access Recipient App Access, go to: More > Recipient App Settings > Recipient Access
Overview
Configure how your recipients log into the RedFlag Alerts Recipient App. You can choose between open registration or restricted access with data validation. Support for Single Sign-On (SSO) via Azure AD (OpenID Connect) or SAML is also available.
Recipient App Settings
Recipient App Location Name
- Used by recipients accessing the web version of the app.
- Recipients can go directly to this dedicated URL to log in and view messages or profile details.
Recipient Web App URL
- This is the dedicated URL for recipients using the web version of the app.
- Recipients can visit this URL directly to log in and access their profile or view message history.
Recipient App Support Email
- This email address will be used to receive support requests submitted through the Recipient App.
- All requests should be internally reviewed by your organization first.
- If the issue appears to be app-related, you may forward it to support@redflaghub.com for further investigation.

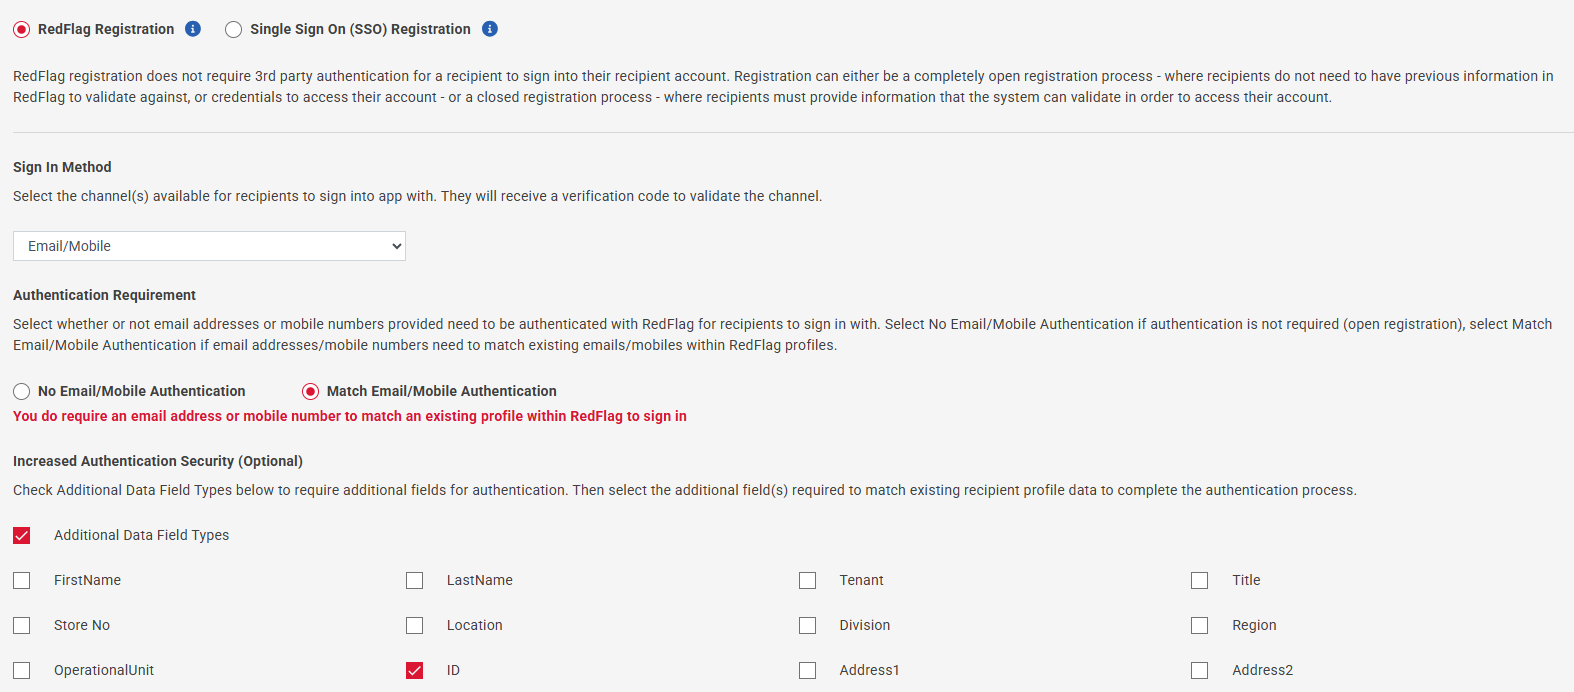
Recipient RedFlag Registration
Configure how recipients log in when not using SSO:
- Choose login method: Mobile Number, Email, or Either
- Set access type:
- Open Access – No authentication required
- Restricted Access – RedFlag validates mobile, email, or email domain before granting access
- Optional: Enable additional data fields (e.g., First Name, Last Name, Employee Number, etc.) for further authentication
Recipient Single Sign-On (SSO) Registration
Enable SSO to allow recipients to securely log into the app using their existing credentials from a third-party identity provider.
- Supported protocols:
- SAML
- OpenID Connect (Azure AD compatible)
- SSO provides a seamless login experience and improves security by using centralized identity management.
SAML Configuration
RedFlag supports SP-Initiated SAML SSO. To configure SAML with your identity provider, you will need:
- Single Sign-On (SSO) URL
- Single Logout (SLO) URL
- Certificate
Gather SSO Information from Your Identity Provider
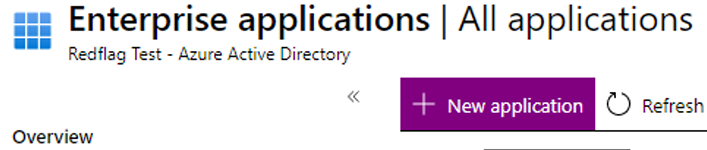
Azure Active Directory
- In Azure, go to Active Directory > Enterprise Applications
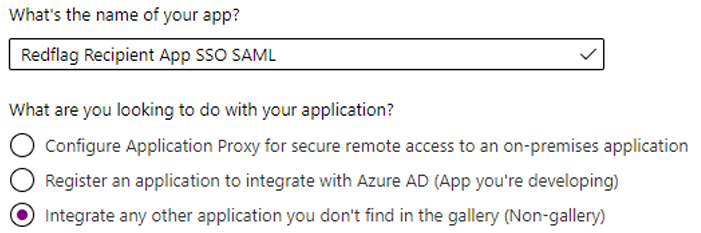
- Click New Application > Create your own application
- Name it
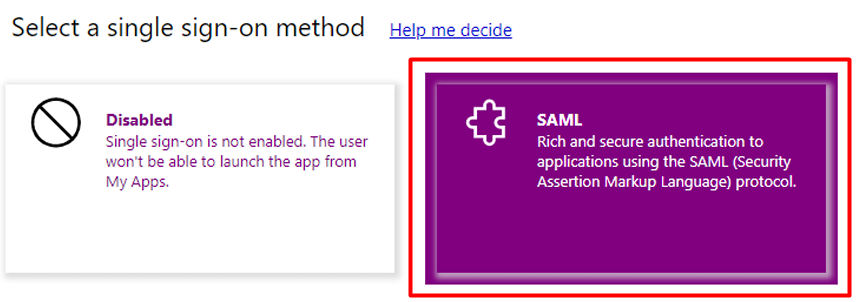
RedFlag Recipient App SSO SAMLand select Non-gallery application - After creation, go to Single sign-on > Select SAML
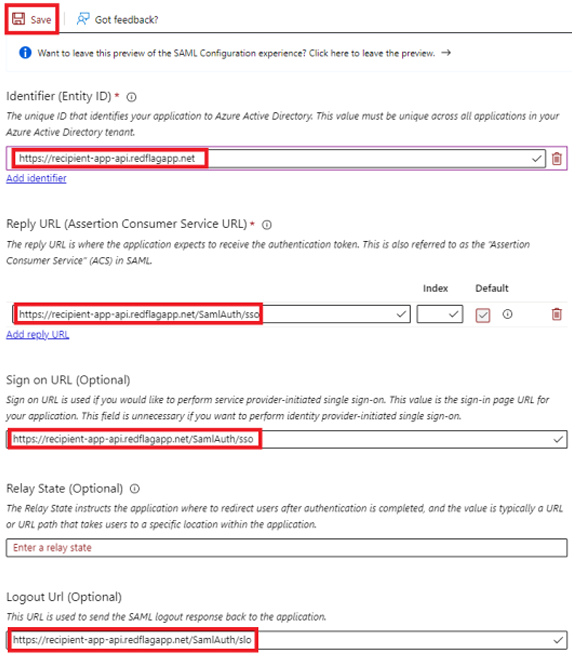
- Under Basic SAML Configuration, enter:
- Identifier (Entity ID):
https://recipient-app-api.redflagapp.net - Reply URL (ACS):
https://recipient-app-api.redflagapp.net/SamlAuth/sso - Sign-on URL:
https://recipient-app-api.redflagapp.net/SamlAuth/sso - Logout URL:
https://recipient-app-api.redflagapp.net/SamlAuth/slo
- Identifier (Entity ID):
- Assign access to recipient users under Users and Groups
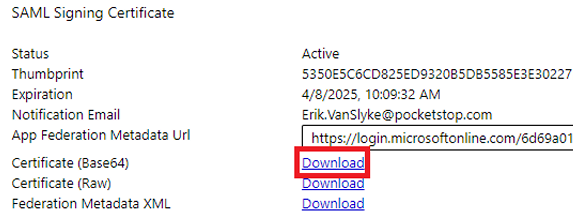
- Download the Certificate (Base64)
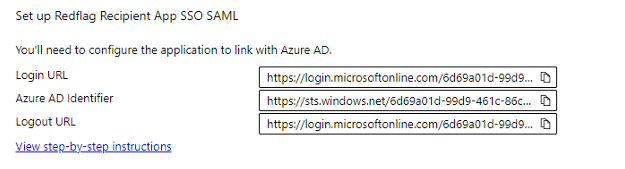
- Note the Login URL, Logout URL, and Azure AD Identifier


OneLogin
- Go to Applications > Applications
- Click Add App and search for SAML Custom Connector (Advanced)
- Set the Display Name to
Pocketstop SAML Connectorand save - In the SSO section:
- Copy the X.509 Certificate
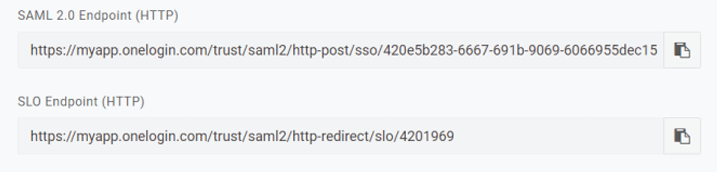
- Note the SAML 2.0 Endpoint (HTTP) (Sign-in URL)
- Note the SLO Endpoint (HTTP) (Sign-out URL)
Okta
- Go to Applications > Applications
- Select the application (e.g.,
MyApp) - Under the General tab, click Edit for the SAML Settings
- Click Next to configure
- Copy:
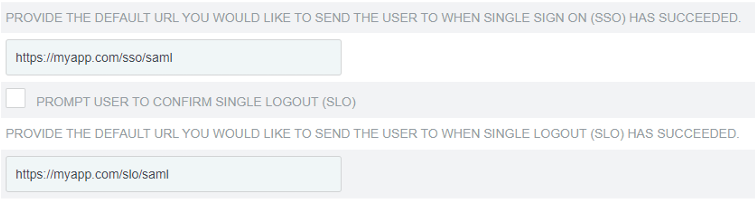
- Single Sign-on URL
- Single Logout URL
- Download and open the Certificate


Ping Federate
- Navigate to Applications > SP Connections
- Click SP Default URLs
- Copy the SSO and SLO URLs
- Go to Security > Signing & Decryption Keys & Certificates
- Export the certificate as CERTIFICATE ONLY
- Copy the content of the certificate file
Configure SAML in RedFlag Recipient App Settings
- Navigate to More > Recipient App Settings > Recipient Access
- Click Single Sign-On (SSO) Registration
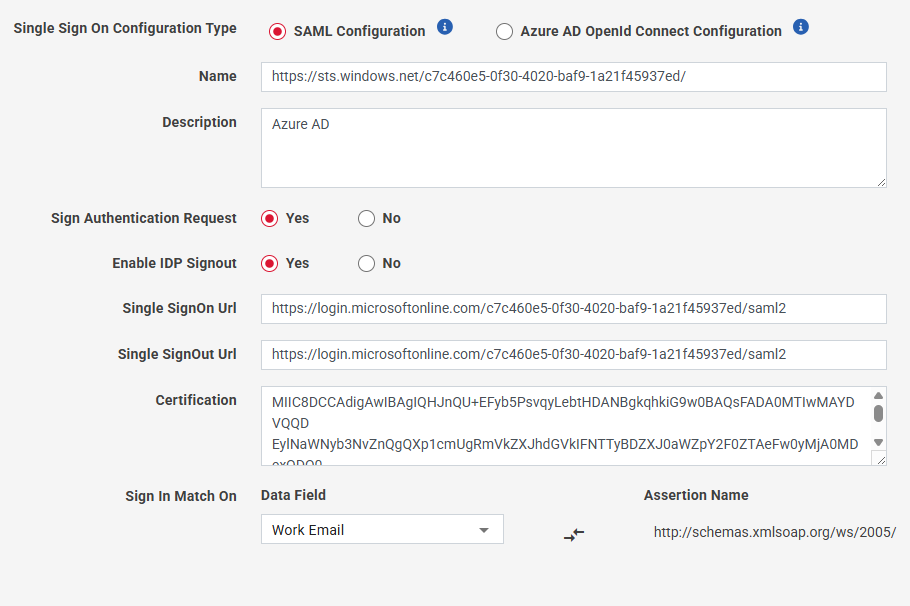
- Select SAML Configuration
- Complete the following fields:
- Name – Enter a unique identifier (e.g., Azure AD Identifier)
- Description – (Optional) Add context for the configuration
- SSO URL – Paste your identity provider’s SSO URL
- SLO URL – Paste your identity provider’s logout URL
- Certificate – Paste the X.509 certificate from your identity provider
- Set the sign-in match fields to link the SSO user to a RedFlag recipient:
- Left field = RedFlag data field (e.g.,
Unique Id) - Right field = SAML assertion attribute from the identity provider
(e.g.,http://schemas.xmlsoap.org/ws/2005/05/identity/claims/nameidentifier)
- Left field = RedFlag data field (e.g.,
🛡️ Note: The RedFlag data field selected on the left must be enabled in your Profile Data Field Setup.
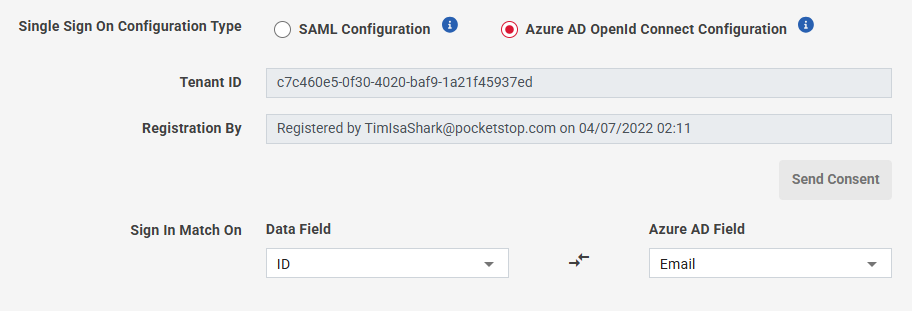
Azure AD OpenID Connect Configuration
Configure OpenID Connect in RedFlag Recipient App Settings:
- Navigate to More > Recipient App Settings > Recipient Access
- Click Single Sign-On (SSO) Registration
- Select Azure AD OpenId Connect Configuration
- Complete the following:
- Grant RedFlag access to your Azure AD tenant.
Send a request to your Microsoft 365 administrator to provide consent for RedFlag to access recipient data. - Map login fields between RedFlag and Azure AD.
Select the RedFlag data field (e.g., Unique ID) to match against a corresponding Azure AD field.
- Grant RedFlag access to your Azure AD tenant.